Thursday, October 30, 2014
{Pinned there, Done that} DIY Huge Black Spider
So I pinned this Huge Black Spider from Listotic's list of 16 Awesomely Homemade Halloween Decorations list a while ago. As I was wasting time and pursuing PInterest the other day, I found it again and in looking at the supplies require I did a little happy dance, because I just so happened to have:
1. Duct tape - I mean, everyone really should, right?
2. Empty Milk Carton - Just finish yesterday, check!
3. Pipe Insulation - surprisingly yes, I had exactly 4 (long enough for 2 legs each for our 8 legged friend) leftover from when I made pirate swords for Jillie's 4th birthday.
Awesome! So, supplies on hand, I gathered the girls up to help me make our spider. However, let me tell you, (a) it was not a "family project", it was a "mommy project" and (b) it's not as "easy" as the diagram showed. It wasn't hard, just kind of tricky.
From the pictures, it looks like the spider legs are bent around the handle. So that's what I attempted, but the legs didn't want to stay secured to the edge of the milk jug (circled in the picture below). When I turned it over, I could see the whiteish underside of the duct tape.
Next time, I may cut out a few more wedges to let the "legs" bend.
Also, my legs ended up being like all straight next to each other, not nicely spider-like bent as shown in the picture. I had to manually place my legs (and get them stuck) in the spider webbing to make them separate. Again, I would have cut a few more wedges out to make the legs more bendable to my liking.
But all in all, I think this turned out super fun! The hubby raved (ok, maybe "rave" is a big strong, he talked very highly) about our new buddy, Mr. Spider.
Monday, October 20, 2014
Weekly Meal Plan
SUNDAY
Grilled out with friends, then we had an outdoor movie night!
MONDAY
Kids are off for school, AND it's my birthday, yay. So we went out to lunch and we will go light for dinner.
TUESDAY
Chef Salad
WEDNESDAY
Ground Beef Casserole
(we had this last week and it was super popular)
THURSDAY
Chili
FRIDAY
Caprese Chicken
Noodle Bowl Soup
Low Country Boil
Wednesday, October 15, 2014
We've been boo'd!
Does anyone "Boo" in your neighborhood? If not, why not start it yourself? Someone has to get the ball rolling.
If you don't know what it is, a simple google search will tell you, it's super simple and the kids love it.
The general idea is one house decides to start the boo-ing, and they select 2 neighbors to start with. They go buy or make a treat and print out the "You've Been Booed" and "We've Been Booed" signs. Then sometime at night, they sneak over to the neighbors house they want to boo, ring the doorbell, leave the gift, and go hide! Those neighbors have 2 days to pick new neighbors to Boo and hopefully soon you will have a neighborhood full of "We've Been Booed" tags. The fun is guessing who Booed you.
I didn't take a picture of what we got (woops), but let me tell you, when the doorbell rang, and the girls opened it to find a goodie bag with halloween treats that said "You've Been Booed", they were ecstatic! Their bag had some pencils, candy, and stickers along with the "You've Been Booed" and "We've Been Booed" tags.
We put the "We've Been Booed" tag on our door so we don't get Booed again and got started on our own "Boo Bags". (The signs that our secret boo neighbor used are found here)
The next day, I ran to the dollar store and got some pencils, pumpkin bubbles, stickers, and a few other Halloween doodads and the girls help me organize them. (yes we did 3... I wanted to kick-start a new street!)
That night after bathtime while the girls were in their PJs, we snuck out did our Booing. The girls had a blast!!
I found some cute printables here. Here is another cute blog post about it too. TomKat Studio has a cute free printable as well.
Happy Booing!
Sunday, October 12, 2014
Weekly Meal Plan
SUNDAY
Noodle Bowl Soup
MONDAY
Family Size Low Country Boil
(hubby went a bit overboard while buying food for this past Saturdays low country boil... so we are going to have more)
TUESDAY
Easy Shepherd's Pie
WEDNESDAY
Crockpot Flank Steak
THURSDAY
*new* Ground Beef Casserole
FRIDAY
Family pizza night
Noodle Bowl Soup
MONDAY
Family Size Low Country Boil
(hubby went a bit overboard while buying food for this past Saturdays low country boil... so we are going to have more)
TUESDAY
Easy Shepherd's Pie
WEDNESDAY
Crockpot Flank Steak
THURSDAY
*new* Ground Beef Casserole
FRIDAY
Family pizza night
Dinners in Review
Pretzel Mustard Chicken (it was ok)
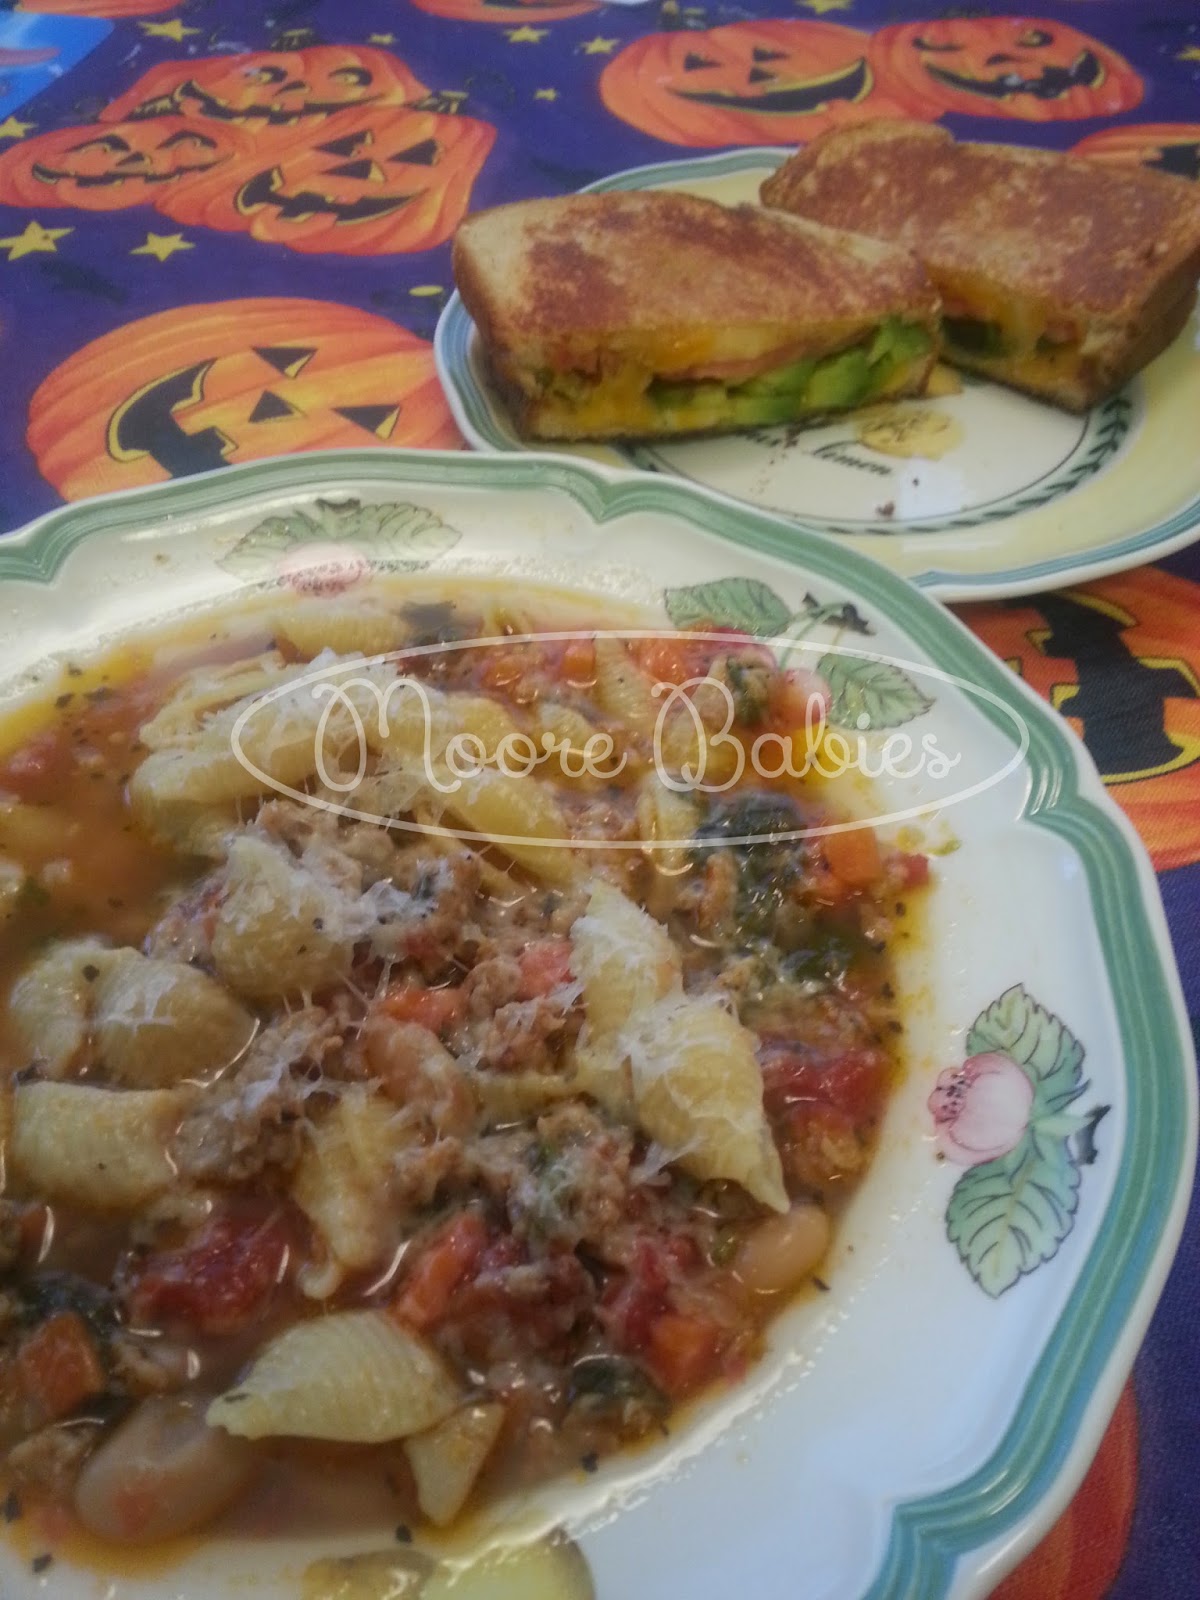
Tuscan Sausage Soup and Avocado Tomato Grilled Cheese
Corned beef, potatoes, and carrots
Thursday, October 9, 2014
{Pinned there, Done that} Baked Pesto Chicken
This past week I was on a new recipe kick, so I went to my Recipes - Dinner board to find something new and fun to try. I decided on Baked Pesto Chicken from Kalyn's Kitchen.
In case the recipe gets lost:
Baked Pesto Chicken
src: Kalyn's Kitchen
Ingredients
4 boneless, skinless cchickenbreasts
salt and fresh ground black pepper for seasoning chicken
1/2 cup basil pesto
2 oz. (1/2 cup) grated low-fat mozzarella cheese
Directions
Preheat oven to 375F/190C. Trim all visible fat and tendons from chicken pieces, then cut each chicken breast lengthwise into 2 or 3 pieces.
Spray a 9" x 12" baking dish with non-stick spray, then spread 1/4 cup basil pesto over the bottom of the dish. Lay chicken strips over the pesto, then spread 1/4 cup more basil pesto over the chicken.
Cover the baking dish with aluminum foil (or use a baking dish with a tight-fitting lid) and bake the chicken for 25-30 minutes, just until chicken is barely firm and cooked through. (Don't cook too much at this point, or the chicken will be overcooked by the time the cheese is melted and browned.)
When chicken is barely cooked through, remove foil and sprinkle chicken with 1/2 cup grated mozzarella cheese. Put dish back into the oven without foil and cook 5 minutes more, just until cheese is melted. After melting the cheese for 5 minutes, switched oven to broil and broiled for 5 minutes more, just long enough to get the cheese lightly browned.
Serve hot. There will be some flavorful juice in the bottom of the dish when this is done, so you may want to serve with rice, couscous, or quinoa to soak up the juice.
Saturday, October 4, 2014
{Pinned there, Done that} Avocado, Tomato, & Mozzarella Grilled Cheese
The other night while planning my meal plan, I was looking for something to go along with my Tuscan Sausage Soup and I stumbled across this Avocado, Tomato, and Mozzarella Grilled cheese from Kitchen Life of a Navy Wife. Since I'm on an avocado kick I decided I had to try it.
It was great!! A nice "grown up" version of the grilled cheese.
In case the recipe gets lost online, here you go (not that you couldn't probably figure it out):
Avocado, Mozzarella and Tomato Grilled Cheese
src: Kitchen Life of a Navy Wife
Ingredients
Bread
1 avocado, sliced
2 pieces of Mozzarella cheese slices (I goofed and only put one... clearly I misread the instructions)
1 tomato, sliced
olive oil
salt
butter
Directions
1. Heat a skillet over medium heat.
2. Butter one side of 2 slices of whatever bread you're using. Place one slice butter side down in the pan.
3. Top with sliced avocado, mozzarella cheese slices and a couple slices of tomato. Drizzle with a bit of olive oil and sprinkle with salt. Top with remaining piece of bread, butter side up.
4. Cook until bread it golden brown (2-3 minutes), then flip and brown the other side. Serve.
I hope you enjoy it as much as we did!
Subscribe to:
Posts (Atom)